
When it comes to plumbing systems, the components that often go unnoticed can be the most crucial. One such component is the check valve, a small yet powerful device that plays a significant role in ensuring the efficiency and safety of your plumbing. If you’ve ever experienced backflow issues or inconsistent water pressure, understanding how a check valve in plumbing works could be the key to solving these problems. In this article, we will explore the importance of check valves, their functionality, and why every homeowner should consider their installation.
Check valves are designed to only allow fluid to flow in one direction, preventing backflow that could lead to contamination or damage within your plumbing system. Whether you are a DIY enthusiast looking to enhance your plumbing knowledge or a professional seeking to refine your skills, this guide will provide you with valuable insights. From installation tips to maintenance advice, you will gain a comprehensive understanding of how check valves can improve your plumbing system’s performance and longevity.
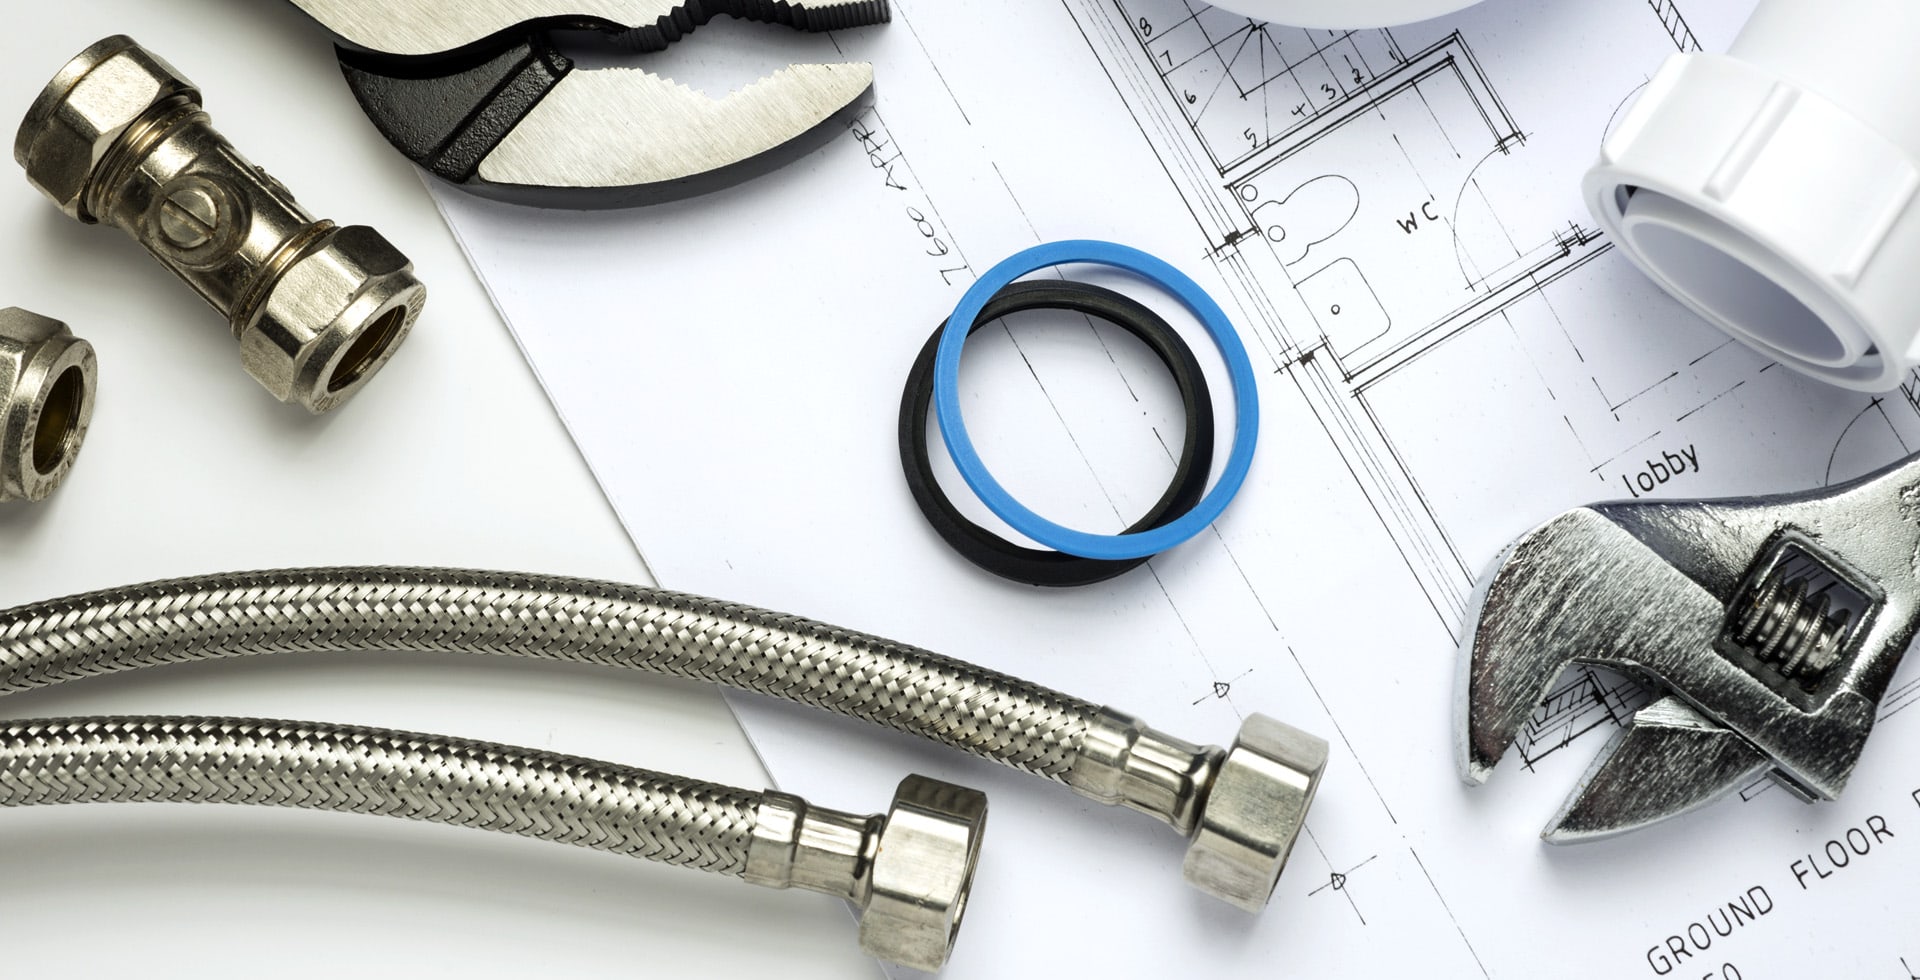
20 best check valve in plumbing
What Is a Check Valve?
A check valve, also known as a non-return valve, is a mechanical device that allows fluid to flow in only one direction. This simple yet effective design is crucial in preventing backflow, which can lead to various plumbing issues, including contamination of clean water supplies and damage to plumbing fixtures. Check valves are commonly used in residential and commercial plumbing systems, irrigation systems, and even in industrial applications.
Benefits of Installing a Check Valve
Installing a check valve in your plumbing system comes with numerous benefits:
- Prevents Backflow: The primary function of a check valve is to prevent backflow, ensuring that water flows in the desired direction and reducing the risk of contamination.
- Protects Equipment: By preventing backflow, check valves protect pumps and other equipment from damage caused by reverse flow.
- Improves Efficiency: Check valves can help maintain consistent water pressure in your plumbing system, improving overall efficiency.
- Reduces Maintenance Costs: By preventing backflow and the associated problems, check valves can help reduce long-term maintenance and repair costs.
How to Install a Check Valve
Installing a check valve in your plumbing system is a straightforward process, but it requires some basic plumbing knowledge. Here’s a step-by-step guide:
- Choose the Right Type: There are various types of check valves, including swing check valves, ball check valves, and diaphragm check valves. Choose one that fits your specific plumbing needs.
- Turn Off Water Supply: Before beginning the installation, ensure that the water supply to the area is turned off to prevent any leaks or spills.
- Cut the Pipe: Use a pipe cutter to cut the section of the pipe where the check valve will be installed. Make sure the cut is clean and straight.
- Install the Check Valve: Follow the manufacturer’s instructions for installing the check valve. Ensure that the valve is oriented correctly, with the flow arrow pointing in the direction of the water flow.
- Secure the Connections: Use appropriate fittings to secure the check valve to the existing plumbing. Ensure that all connections are tight to prevent leaks.
- Turn On the Water Supply: Once everything is securely in place, turn the water supply back on and check for any leaks.
In conclusion, a check valve in plumbing is a vital component that can enhance the functionality and reliability of your plumbing system. From preventing backflow to protecting your equipment, the benefits are clear. By understanding how to install and maintain a check valve, you can ensure that your plumbing operates smoothly and efficiently for years to come.